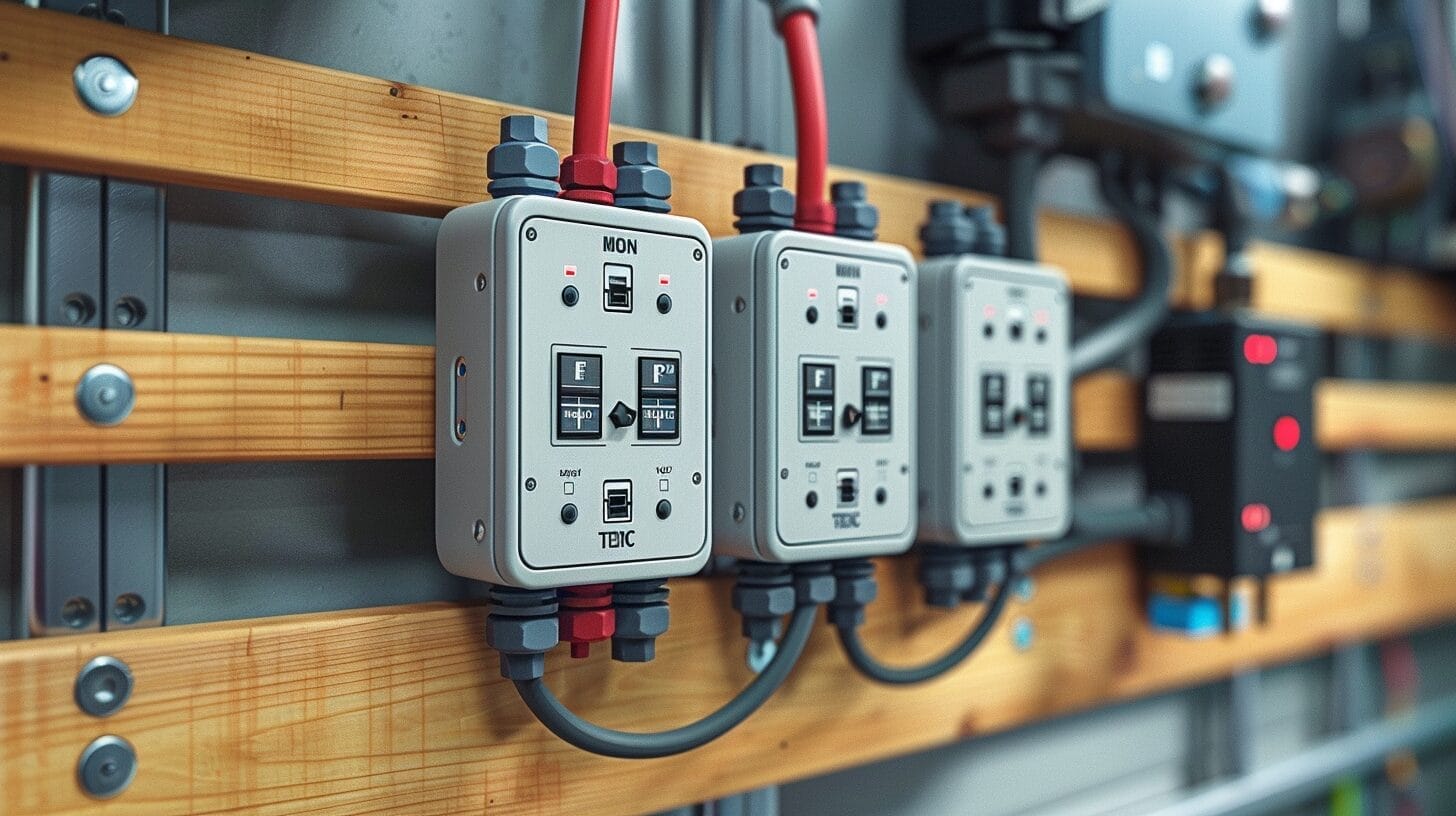
Three Way Switch Multiple Lights: A Comprehensive Guide
Mastering the installation of a three-way switch for multiple lights can significantly enhance the convenience of controlling lighting from different spots in your home. This comprehensive Three Way Switch Multiple Lights guide will walk you through the process, from understanding the basics of a three-way light switch to the final troubleshooting and maintenance stages.
Key Takeaways
- Understand three-way switch diagram for proper installation.
- Gather necessary tools and materials for the project.
- Plan wire routes and turn off power before starting.
- Follow step-by-step installation process for multiple lights.
- Troubleshoot and maintain switches for optimal functionality.
Understanding the Basics of a Three-Way Light Switch in Your Home
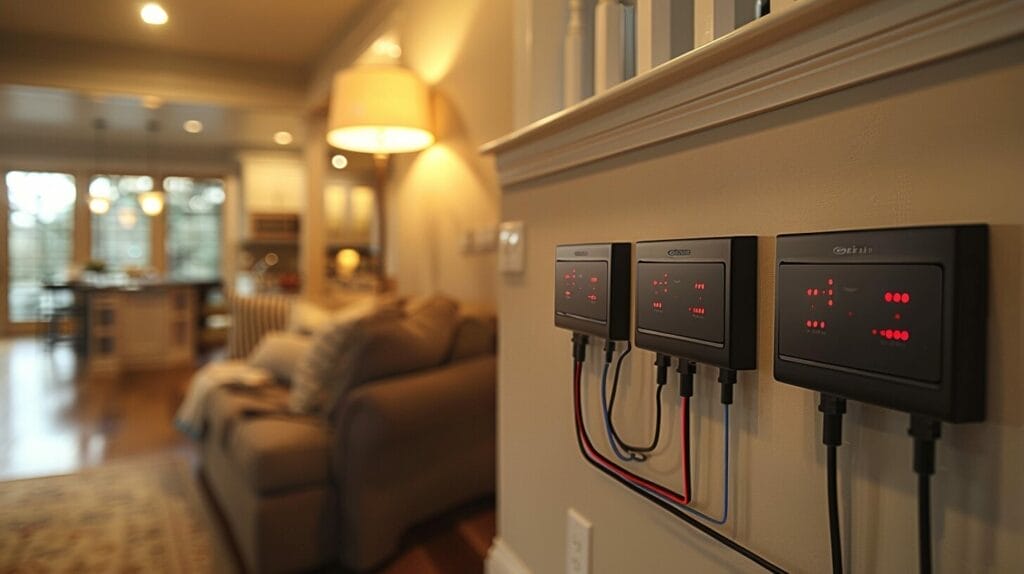
A three-way light switch is a vital solution for controlling lights from two different switches, offering flexibility and convenience in various areas of your home. When dealing with multiple lights, a three-way switch controls the same set of lights from different locations, providing added versatility.
To comprehend the workings of a three-way switch, it’s essential to refer to a switch diagram. This diagram illustrates the wiring configuration between the switches, helping you grasp the connections and the flow of electricity. By following the switch diagram during installation, you enable seamless control of your lights from multiple switches.
Gathering Necessary Tools and Materials for Your Three-Way Light Switch Project

To prepare for your three-way light switch project, gather the necessary tools and materials. This includes a voltage tester for safety, wire strippers for preparing the wires, a screwdriver for securing connections, and pliers for bending wires.
Choose the right wire for the job, typically 14-3 or 12-3 wire, depending on the electrical load. Also, select a suitable three-way light switch that fits your needs and the design of your space. Always ensure safety by turning off the power at the breaker box before starting any electrical work.
Pre-Installation Steps for a Three-Way Light Switch with Multiple Lights

Before diving into the installation process, plan and mark wire routes according to a diagram. Turning off the power supply to the circuit is a critical safety measure that should never be overlooked.
Assess the area where the three-way switch will be installed to determine the best route for the wires and ensure the power supply cable reaches all necessary components. With careful planning, you can streamline the installation process and minimize potential issues.
Step-by-Step Installation Process of a Three-Way Light Switch

Before proceeding with the installation of the three-way light switch, it’s important to have assessed the area for best wire routing and power supply cable placement. To begin, make sure the power coming into the switch is turned off at the breaker box.
Next, identify the common terminal on the three-way switch and connect the power supply cable to it. Proceed by connecting the black traveler wire to one of the brass screws and the red traveler wire to the other brass screw. It’s essential to follow the correct wiring configuration to guarantee the switch functions properly.
After wiring the three-way switch, connect the other end of the traveler wires to the corresponding terminals on the second three-way switch that controls the multiple lights. Once all the connections are secure, carefully tuck the wires into the switch box, keeping them neat and organized.
How Can I Connect Multiple Lights to a Three-Way Switch System?
To connect multiple lights to a three-way switch system, start by identifying the two three-way switches. Install the switches following the manufacturer’s instructions, ensuring the power is turned off. Connect the switches with 14-3 or 12-3 cable, making sure the connections match the terminal labels on each switch. Finally, wire each light fixture to the “load” terminal of a three-way switch, completing the connecting 3-way switches process.
Troubleshooting and Maintenance of a Three-Way Light Switch

When encountering issues with a three-way light switch, promptly identify common problems and apply corresponding solutions. If the lights controlled by the switch aren’t turning on, first check if power is coming to the fixture. Ensure the circuit breaker is on and the wiring connections are secure.
If one of the switches isn’t working correctly, it might be a faulty three-way switch. In this case, replacing the switch should resolve the issue. Regular maintenance is essential to prevent problems. Check the switches periodically for any signs of wear or corrosion, and tighten any loose connections.
Conclusion
To sum up, setting up a three-way light switch for multiple lights can seem challenging at first, but with the right tools and guidance, it can be a manageable project.
By following the steps outlined in this guide and troubleshooting any issues that may arise, you can successfully upgrade your lighting system and enjoy the convenience and flexibility that a three-way switch provides.
Don’t hesitate to tackle this project and enhance the functionality of your home lighting setup.
Frequently Asked Questions
How do I wire a 3-way switch with multiple lights?
To wire a 3-way switch with multiple lights, you will need to use a 3-way switch with power coming from the single-pole switch. Connect the black wire from the 14-2 power supply cable to the first switch. Then, connect the white wires from the 14-2 power supply cable and the 14-3 cable together. Finally, connect the black and red traveler wires from the 14-3 cable to the second switch.
What is the process of wiring lights from two locations using a 3-way switch?
To wire lights from two locations using a 3-way switch, you will need to wire the 3-way switches in a series. Connect the 14-2 power supply cable to the first switch and then connect the traveler wires from the 14-3 cable to the second switch. This will allow you to control the lights from either location.
How can I wire a three-way switch in an easy and efficient manner?
When wiring a three-way switch, it is important to note that you can easily wire it by following a specific diagram. Make sure to expose the wires from the cables, wrap them around the terminals on the switches, and secure them properly. This process will ensure that the switch functions correctly.
Can you provide a wiring diagram for a three-way switch setup with multiple lights?
In a three-way switch setup with multiple lights, you will typically have a 14-2 power supply cable and a 14-3 cable connecting the switches. The diagram will show how to connect the wires from both cables to control the lights from different locations in the room.
What should I do if I have existing switches and want to add extra lights to the circuit?
If you have existing switches and want to add extra lights to the circuit, you can simply run a new 12-2 or 14-2 cable from the existing switches to the new lights. This will allow you to expand the lighting setup without having to replace the existing switches.

