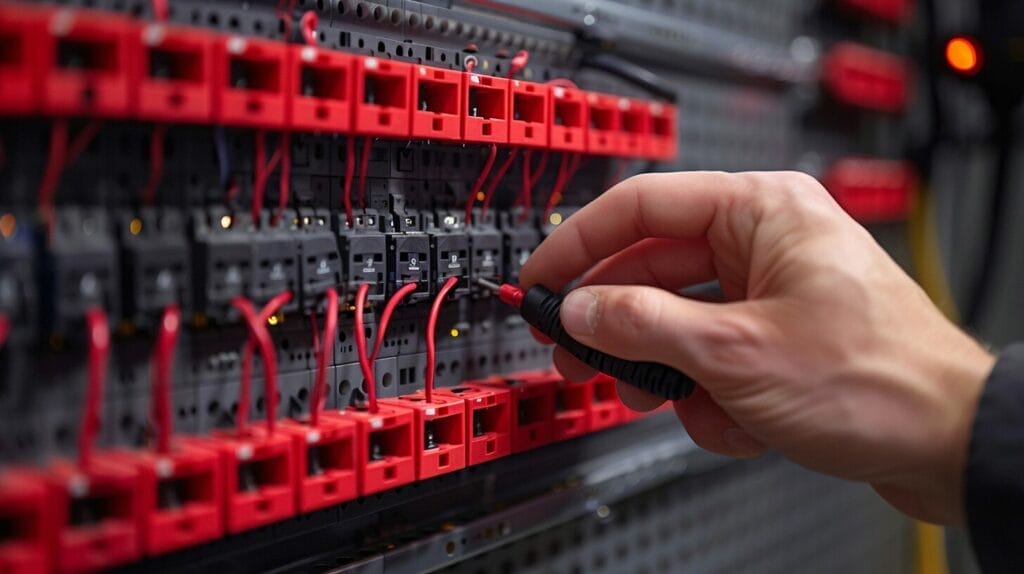
Light Switch Red Wire: A Guide to Connecting 3-Way Switches
Understanding the red wire in 3-way switches is essential for proper setup. This wire plays a crucial role in controlling the power flow between switches, enabling you to control lighting from multiple locations. Let’s get into the details with our Light Switch Red Wire guide.
Key Takeaways
- Red wire essential for 3-way switch systems for interconnection.
- Understanding red wire’s function crucial for proper power flow.
- Red wire acts as traveler for multi-location lighting control.
- Double-check red wire connections for safety and functionality, and make sure the green ground wire is securely connected.
- Testing red wire with voltage tester ensures correct installation.
Understanding the Basics of Electrical Wire Colors in Light Switches

Understanding wire colors in light switches is critical for safely dealing with electrical installations. The red wire in a light switch is often used as a traveler wire in 3-way switches, allowing for control of a single light fixture from multiple locations. By identifying the red wire correctly, you can ensure accurate connections and the switch’s intended function.
Decoding the Purpose of the Red Wire in a Light Switch

The red wire plays a critical role in 3-way switches by controlling the power flow within the electrical system. Here are some key points:
- Distinctive Function: The red wire serves as a specialized conductor in 3-way switch setups.
- Power Flow Control: The red wire is vital for managing the electrical supply to the light fixture.
- Interconnection Significance: The red wire enables coordination between multiple switches.
- Enhanced Control: The red wire, used with other wires, allows advanced control over lighting systems. This enables the integration of a second switch for enhanced functionality.
- Efficient Connectivity: Properly connecting the red wire ensures reliable operation of the 3-way switch setup.
Exploring the Role of the Red Wire in a Three-Way Switch System

In a three-way switch setup, the red wire plays a vital part in facilitating communication between the switches. Unlike the black (hot) and white (neutral) wires, the red wire serves as a traveler wire, enabling control of the light from multiple locations. Understanding the red wire’s role is essential for installing a three-way switch system.
Practical Guide to Installing a 3-Way Switch with Red Wire

To successfully install a 3-way switch with a red wire, gather the necessary tools and prioritize safety measures. Here are some key points to keep in mind:
- Use the Right Tools: Ensure you have wire cutters/strippers, a voltage tester, a screwdriver, and wire nuts.
- Understand the Wiring: Familiarize yourself with the wiring diagram for a 3-way switch.
- Follow a Methodical Approach: Connect the red wire to the designated terminal on each switch while ensuring the power is turned off.
- Double-Check Connections: Verify all connections are secure and match the wiring diagram.
- Test Before Completion: After installation, use a voltage tester to confirm the wiring is correct before fully installing the switches.
Can I Use the Same Wiring Techniques for Both 2-Way and 3-Way Light Switches?
Yes, you can use the same wiring techniques for both 2-way and 3-way light switches when following specific instructions on how to wire switches one light. The key is to understand the differences between the two and utilize the appropriate wiring methods to ensure functionality and safety.
Troubleshooting Issues Related to the Red Wire in Light Switches

When troubleshooting issues related to the red wire in light switches, examine for signs of incorrect wiring, ensuring the ground wire is also correctly connected. If the red wire isn’t connected properly, it can cause the lights to flicker or not turn on at all, or even create a safety hazard. Always double-check that the red wire is attached to the correct terminal and that there are no loose connections. If troubleshooting proves challenging, consult a professional electrician.
Conclusion
To sum up, grasping the red wire in a light switch is crucial for setting up and resolving issues with a 3-way switch system.
By deciphering the function of the red wire and following a practical guide, you can effectively link your switches, utilizing the correct cable and ensuring a secure connection to the ground wire.
Remember to always prioritize safety when working with electrical wiring.
Happy switching!
Frequently Asked Questions
What is the purpose of a red wire in a light switch circuit?
The red wire is typically used to connect a 3-way switch configuration, allowing for control of a light from two different switches.
How do I identify the red wire in a switch box?
The red wire is commonly used as a traveler wire in a 3-way switch setup and is usually connected to a specific screw terminal on the switch.
Can I connect a red wire to a standard single pole switch?
No, the red wire is specifically used for 3-way switch installations and should not be connected to a standard single pole switch. This differentiates it from the black and white wires, which are common in both configurations.
Should I always see a red wire in a switch box for a 3-way switch setup?
Not necessarily. While red wires are common in 3-way switch configurations, the presence of a red wire depends on the specific wiring setup in your home.
How do I connect the red wire when replacing an old switch with a new one?
When installing a new 3-way switch, you will need to follow the specific wiring instructions provided with the switch to correctly connect the red wire, ensuring the black, white, and ground wires are also correctly attached.


