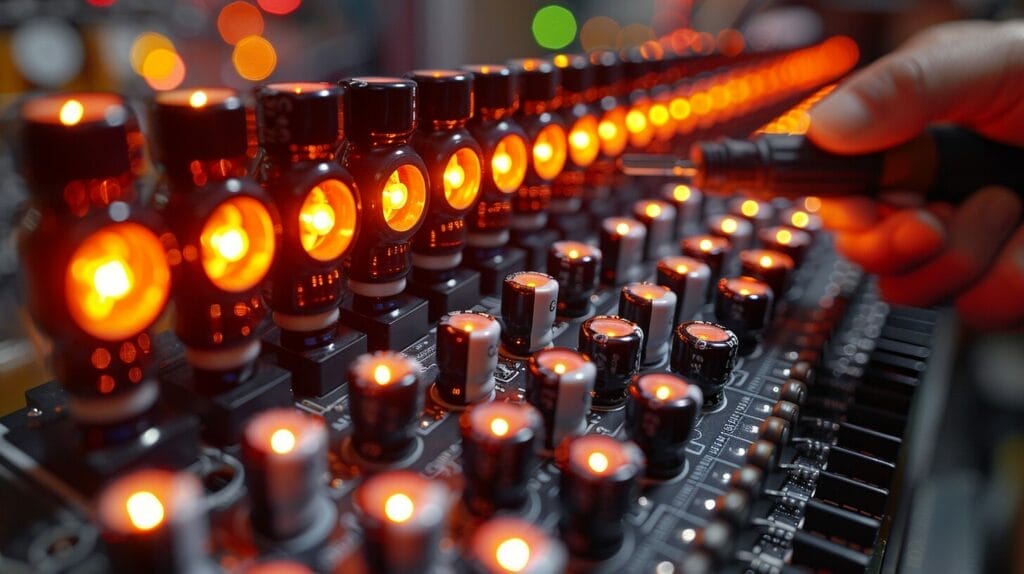
Blinking Glowing LED Diode Light Bulbs Close-Up.
|

How to Make Christmas Lights Blink in Sequence Using LEDs: A Step-by-Step Guide

Have you ever looked at a strand of fairy lights and wondered how it creates such a mesmerisingly beautiful effect? It’s almost magical, the way each individual bulb seems to be controlled by some unseen force. As an electrical engineer, I know the secret behind this captivating display – it’s all about mastering the art of making lights blink in sequence! With just a few simple steps, you too can become the master of your own light show and create dazzling displays that will amaze onlookers. Join me as we explore this fascinating journey into the world of electrical engineering!

How Christmas Lights Work: A Overview Of Wiring And Circuits

Christmas Decoration Over White For creating visually pleasing effects with Christmas lights, understanding the wiring and circuitry behind them is essential. By knowing how to troubleshoot issues and manipulate the power and timing of each LED, users can create custom patterns and effects that are unique to their project. Most Christmas light strings have one main wire that carries power from the plug to the first light, and then from each light to the next one down the line. A resistor or capacitor regulates the amount of current flowing through each LED to ensure no single part of the string gets more power than it can handle. To achieve blinking sequences, users can draw up a schematic for each individual bulb and manipulate resistors or capacitors to control when each LED turns on or off. This allows for precise control over power and timing, making it possible to create eye-catching animations. Understanding how electricity works within LED Christmas light strings is key to getting creative with your projects. By using effective methods and techniques, such as parallel wiring and replacing individual bulbs, users can achieve the desired effect. So, get into the holiday spirit and explore these DIY methods to make your Christmas lights twinkle and blink in exciting new ways!

Diy Techniques For Making Christmas Lights Blink In Sequence

I’m going to walk you through the steps to create a blinking sequence with Christmas lights. First, you’ll need to gather your supplies: a string of lights, a power source, and some wire. Next, assemble the circuit by connecting the power source to the lights with the wire. Finally, you’ll need to program the sequence. With the right tools, this should be fairly simple to do. Let’s get started, and you’ll soon have your lights blinking in the desired pattern. Glowing Lights

Gather Supplies

To create a blinking sequence for your Christmas lights, it’s important to gather the right supplies. As an electrical engineer, I always make sure I have the components for my project. Essential components for this project include LEDs, breadboards, jumper wires, a microcontroller board, and a multimeter. LEDs are the foundation of any blinking light circuit, as we can use them as indicators or emitters of light. However, they require current-limiting resistors when connected directly to power sources. Breadboards are necessary for prototyping circuits as they provide contact points that allow components to be connected without soldering. Jumper wires come in handy for quickly connecting different parts together on the breadboard. A microcontroller board acts as the main controller in this project, allowing us to program our circuit with specific instructions so that it can function properly. Having a multimeter ensures everything is connected correctly, and I made no mistakes when building the circuit. With these supplies, you can start creating your blinking Christmas light display! Assemble Circuit Now that I’ve got the right supplies for my project, it’s time to put it together! Assembling the circuit is the fun part. With my Arduino board and breadboard, I can create a sequence using the LEDs that will make my string of lights blink specifically. Once I have all the components connected correctly, then I’ll be able to control them with a code written in C++. My goal is to make sure that each bulb blinks at an interval so that they all appear to be blinking in unison. To do this, I need to use interrupts and keep track of how many times each bulb has blinked so far. This way, when one LED blinks on or off, the others will follow suit. With careful attention to detail and some patience, I’m confident I’ll be able to get this project up and running before Christmas!

Program Sequence

Now that I have the basics of this project wired up, it’s time to get into the programming. To control the sequence of my blinking Christmas lights, I’m going to use a 555 timer and various logic gates as my controller. With the Arduino board, I’ll be able to write a code in C++ that will power the timer and logic gates. In my void setup function, I’m going to start by setting up each LED light individually using the digital write command. Then I’ll set an initial delay for all LED lights with a delay function. This will allow me to space out when each bulb blinks on or off. Once all LEDs are set up, I’ll finish with an endless loop that repeats until powered off. By writing this program sequence correctly, I should be able to get my blinking Christmas lights working in no time!

Advanced Techniques: Programming A Microcontroller For Custom Christmas Lights Sequences

Young Girl On The Background Of The Christmas Tree In Miami. Beautiful Christmas Tree At The Popular Area At Xmas Eve And Lights I’m excited to talk about programming a microcontroller for custom Christmas light sequences! Let’s start by discussing some basics of programming, such as the programming languages available and how to write code. Then, we can move on to the configuration of the microcontroller, including how to attach the lights, how to power the system, and how to connect the microcontroller to a computer. It should be fun!

Programming Basics

Are you looking to take your holiday light display to the next level? Programming a microcontroller is the perfect way to customize your Christmas light sequences and create something truly unique. The basics of programming a microcontroller are relatively simple once you understand the fundamentals. To get started, you’ll need to initialize the microcontroller, such as an Arduino Uno or Raspberry Pi, and then set up a loop that will continuously execute commands at 100k cycles per second. With these tools in hand, you can craft creative holiday light sequences and make your house sparkle like never! So let’s get started on building that amazing Christmas light show – the possibilities are endless!

Microcontroller Configuration

Once you have your microcontroller set up, it’s time to move on to the next step: configuring the hardware. This involves connecting LED1 and LED2 to the board, using a capacitor, and then writing code to make them blink in sequence. To do this, you’ll need to use an integrated development environment (IDE) like the Arduino Studio or Visual Studio Code so you can write your code in a language like C++ or Python. When you’ve completed the code for each step, you can upload it directly to the microcontroller. Now you’re ready for testing! With all the components connected and your code uploaded, it’s time to power up the board and see if your holiday light display works as expected. If everything went according to plan, you should be able to enjoy your custom Christmas light sequence in no time!

Can I Use Smart Light Bulbs with Alexa to Make Christmas Lights Blink in Sequence?

Yes, you can achieve a synchronized blinking effect on your Christmas lights by setting up smart light bulbs with alexa. Harnessing Alexa’s voice control capabilities, you can create a festive ambiance by simply asking her to make the bulbs blink in sequence. This innovative pairing adds convenience and excitement to your holiday decorations. Transforming your home into a colorfully synchronized Christmas wonderland is just a few voice commands away.

How To Use A Transistor To Control High-Power Christmas Lights Sequences

Woman Using Smartphone Christmas Holiday I’m an electrical engineer and I’m going to discuss how to use a transistor to control high-power Christmas light sequences. First, we’ll need to choose a transistor that can handle the amount of power we’re dealing with. Then we’ll have to wire the circuit properly so that the transistor can control the lights. Finally, we’ll need to program the output so that the lights blink in the desired sequence. It’s important to get these steps right, so that everything works properly. Let’s get started!

Choosing A Transistor

Controlling the blinking sequence of your LED Christmas lights requires careful consideration of the right transistor to use. As an electrical engineer, it’s important to choose a transistor that can handle the power needed for your specific twinkle pattern. Transistors come in different sizes and shapes, so it’s crucial to select one that can handle the current required for your Christmas lights. If you need a larger current than what your transistor can handle, look for one with a higher wattage rating. If your twinkle pattern requires a shorter pulse time than what’s available from the transistor, search for one with a faster switching speed. With proper research and consideration, you can find the ideal transistor to control your LED Christmas lights’ blinking sequence.

Wiring The Circuit

Once you have the right transistor, it’s time to wire the circuit. This involves connecting the one LED, which will control the blinking pattern, with a light string and a voltage source. To ensure that everything is connected properly, it’s best to use series wiring. This means that each LED in the light string will be connected in sequence, with the output of one LED being connected to the input of another. This way, when power is applied to the first LED, it will turn on all of them. By properly wiring up this circuit with a transistor, you can control your Christmas light sequence exactly as desired!

Programming The Output

Now that we have the circuit wired up, it’s time to program the output to achieve a blinking effect on our string lights. To accomplish this, we can use a simple circuit with a single transistor to regulate the power source and control the blinking sequence. One method to achieve this effect is to connect one end of the circuit to the first LED and the other end to the next LED in the sequence. This way, the power source will travel from left to right, with each previous LED acting as a switch to turn on the next LED in the sequence. Another method involves replacing one bulb in the string with a red or silver tip to act as a switch. When that bulb is lit, it will turn off the entire string of lights, allowing the next bulb in the sequence to turn on and create the blinking effect. If you encounter common problems with Christmas lights that won’t blink, such as loose connections or dirty bulbs, check that all the bulbs are secured and that the connections are clean and tight. If resetting the lights by disconnecting the power source doesn’t work, consider using a microcontroller or additional transistors for better control over the blinking sequence. Good luck!

Troubleshooting Bulbs

If you’re having trouble with your Christmas lights not blinking, first things first: unplug the set. Then take out a multimeter and check each bulb to see which one is not working. After you identify the one that isn’t working, it’s time to replace it. Make sure that when you put in the new light, you align the positive side of the replacement bulb with the positive end of the socket. That way, it’ll work correctly in sequence. And Voila! Your lights will be up and running in no time.

Resetting Lights

Once you’ve identified the bulb that’s not working, it’s time to reset the blinking pattern of your Christmas lights. Using a multimeter, you can make LED light changes to get the specific pattern you want. This is a great way to customize your display and add some flair to your holiday decorations. With a few simple steps, you can easily change the blinking sequence and make sure everything looks just right! Plus, it’s an opportunity for you to show your mastery of electrical engineering principles.

Frequently Asked Questions

What Type Of Bulbs Should I Use For My Christmas Lights?

For decorating for the holidays, Christmas lights are always a popular choice! As an electrical engineer, I’d recommend using LED bulbs if you’re looking to make your lights blink in sequence. LEDs have a long lifespan and they don’t burn out as quickly as other types of bulbs. They also come in a variety of colors which can create stunning visual effects. Whether you’re decorating indoors or outdoors, LEDs will help you achieve the festive look you’re going for this holiday season.

How Much Power Is Needed To Make The Lights Blink In Sequence?

For powering your blinking lights, the amount of power you need depends on the size of the bulbs and the number of lights. Each bulb requires up to 5 watts, so if you have a string of 100 bulbs, you’ll need around 500 watts. That said, it’s always best to double-check your specific product for exact wattage requirements before making any purchases or wiring changes.

What Are The Safety Precautions I Should Take When Wiring Christmas Lights?

When wiring Christmas lights, safety should always be your top priority. As the adage goes, ‘better safe than sorry’. As an electrical engineer, I urge you to use caution when handling these wires. Make sure you double check the power input before connecting them and ensure that someone properly ground each wire. Inspect each wire for frayed ends or splits, as these can cause short circuits and potential fire hazards. Also consider what type of insulation is being used to cover the wires, as this plays a huge role in protecting against electric shocks. Taking these simple precautions will help ensure a safe and successful installation!

Is There A Way To Control The Speed Of The Light Sequence?

Yes, there is a way to control the speed of the light sequence! As an electrical engineer, I recommend using a variable resistor or potentiometer to adjust the frequency of the pulses. This will allow you to control both the repetition rate and duration of each pulse. Remember, when making adjustments to your circuit, always ensure that you are taking necessary safety precautions.

What Materials Do I Need To Make My Own Christmas Lights Controller?

Creating your own Christmas light controller is a fulfilling way to master the art of electrical engineering. All you need is a few simple materials and you’re ready to go! To make one, you’ll need: – An Arduino microcontroller – Some transistors – Resistors – Capacitors – LEDs – Wires You’ll also need a power source such as a battery or AC adapter. With these steps in hand, you can easily turn your creative ideas into reality and bring festive cheer to the world with your very own Christmas light displays!

Conclusion

In conclusion, creating a light sequence for your Christmas decorations is an exciting and rewarding project. With the right materials and knowledge, you can have your lights blinking in time with the music or just in their own beautiful pattern. As an electrical engineer, I can guarantee that if you take the safety precautions when wiring your lights and use high-quality bulbs with enough power, you will make a stunning light display. So start planning your very own holiday light extravaganza; it will be a hit!
Danny Dearing
Danny Dearing

Hello! I'm Danny Dearing, a dedicated home improvement enthusiast and a believer in the harmony of beauty and functionality. Alongside my wife, Lucy, I'm committed to turning houses into homes that reflect the owners' personalities and meet their needs. My aim is to guide and inspire with trusted, insightful advice, helping you realize the potential of your living spaces.

Similar Posts