How to Hook Up a Light Switch: A Safe Guide to Installation
Tired of fumbling around in the dark? Let’s shed some light on how to hook up a light switch safely with this comprehensive guide to installation. Whether you’re a novice or a DIY enthusiast, we’ll walk you through the steps and provide expert advice to ensure a smooth and secure setup.
Key Takeaways
- Turn off circuit power before starting installation to ensure safety.
- Properly strip and twist wires for secure connections to terminal screws.
- Fasten wires securely under appropriate screws to ensure reliable electrical flow.
- Carefully tuck wires into the electrical box without causing damage.
- Confirm compatibility with bulb type and wattage load when installing a dimmer switch.
Understanding the Basics of a Light Switch Installation

Knowing how a light switch works is the first step towards a successful installation. The most common types include the single-pole switch, which controls a light from one location, the three-way switch that allows control from two different locations, and the dimmer switch for adjusting light intensity.
Before diving into the installation process, ensure you have the necessary tools such as a screwdriver, wire stripper, voltage tester, and pliers. Familiarizing yourself with your tools will streamline the installation process and help prevent mishaps.
Preparatory Steps Before Installing a New Light Switch

Before starting the actual installation process, take several preparatory steps to ensure a safe and smooth changeover. Verify that the circuit powering the light switch is off to avoid electrical mishaps. Once the power is off, remove the old switch and its cover plate. Evaluate the condition of the wires in the recess for any signs of wear or damage that may require attention before installing the new switch.
Conduct a thorough wire assessment to prevent any future issues with the new installation. Ensure the wires are securely connected and free from any defects. Also, inspect the switch box to ensure it’s in good condition and can accommodate the new light switch. These steps form the foundation for a safe and successful installation process.
Step-by-Step Guide to Installing a Single-Pole Light Switch

To install a single-pole light switch:
- Start by stripping the wire to expose a sufficient length for connection.
- Next, prepare the wire ends by twisting them to guarantee proper contact with the terminal screws on the new switch.
- Securely fasten the wires under the appropriate screws, ensuring a firm connection to ensure a reliable electrical flow.
- Once the wires are securely attached, carefully tuck them into the electrical box, making sure they aren’t crimped or damaged.
- Proceed to fasten the light switch into place within the box using the provided screws.
- Finally, attach the switch plate, aligning it correctly before tightening the screws to hold it firmly in position. This step ensures a finished look and provides protection for the wiring.
Step-by-Step Guide to Installing a Three-Way Light Switch
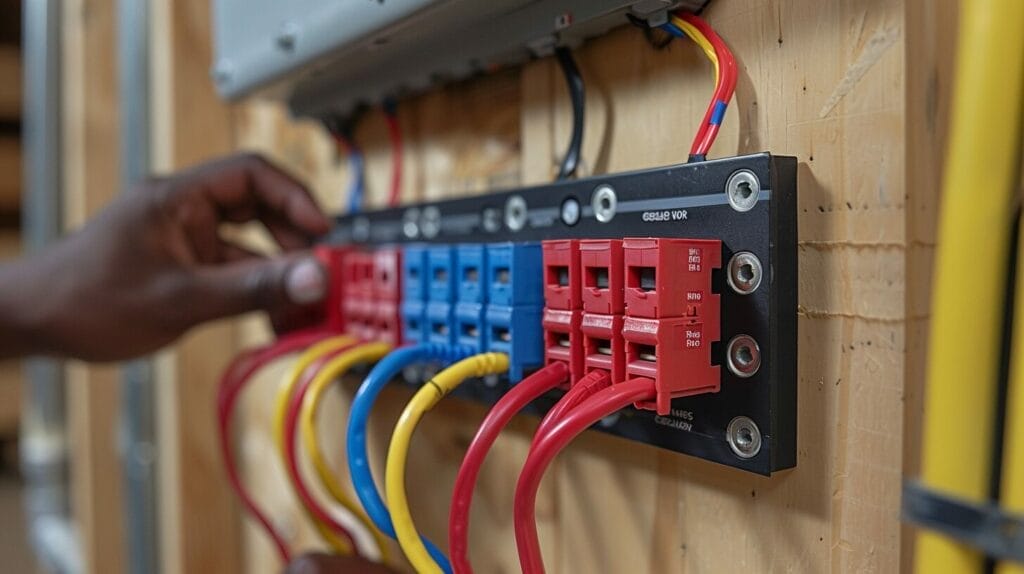
Let’s tackle the installation of a three way light switch:
- Start by identifying the correct terminal screws for attaching the wires. The common terminal screw (usually black) connects to the hot wire coming from the power source. The two traveler terminal screws (often brass) connect to the wires leading to the other switch. This step ensures correct wire attachment for proper switch function.
- Securely fasten the switch into the electrical box. After installation, test the switch to ensure it works correctly. Flip the switch and observe if the light turns on and off as expected.
Is the Installation of Multiple Light Switches Safe According to the Standard Guide?
When it comes to light switches wiring control, it’s crucial to follow the standard guide for installation. Connecting multiple light switches safely requires proper knowledge of electrical circuits and wiring. Hiring a professional electrician ensures compliance with safety standards and avoids potential hazards.
Special Considerations: Installing a Dimmer Switch

Dimmer switches offer the flexibility to adjust the brightness of your lights to suit different moods and activities. They can enhance the ambiance of a space and improve energy efficiency. To install a dimmer switch, make sure you turn off the power at the circuit breaker, follow the manufacturer’s instructions, and use the right tools. If troubleshooting issues such as flickering lights or buzzing sounds arise, confirm that the dimmer switch is compatible with your bulbs and that the wattage load is within the switch’s capacity, and check if the switch is wired correctly.
Conclusion
To sum up, installing a light switch can be a simple and safe task with the right knowledge and preparation. By following the steps outlined in this guide, you can confidently hook up a new light switch in your home.
Remember to always turn off the power before starting any electrical work and consult an electrician if you’ll encounter any difficulties.
Stay safe and enjoy your newly installed light switch!
Frequently Asked Questions
What tools do I need to install a light switch?
To install a standard light switch, you may need tools such as wire strippers, a screwdriver, and a voltage tester.
How do I know which wire goes where on the light switch?
The black wire is the standard wire that carries electricity, the white wire is neutral, and the bare wire is ground. Follow the manufacturer’s instructions or electrical codes to know how to connect them to the switch.
Can I replace a single-pole switch with a three-way switch?
Yes, you can replace a single-pole switch with a three-way switch if you follow the wiring instructions carefully and have a neutral wire available.
What is the purpose of the green grounding screw on the switch?
The green grounding screw on the switch is used to connect the switch to the ground wire for safety and to prevent electrical shock.
Can I install a light switch in a metal electrical box?
Yes, you can install a light switch in either a metal or plastic electrical box as long as you ensure a secure and neat connection of the wires.


