How to Fix Broken Led Lights: Your Guide to Fixed LED Lights
Undoubtedly, dealing with flickering or non-functional LEDs can be frustrating, often requiring a check for wattage consistency or the need to replace your power source. But fear not! We’ve got you covered with practical solutions to get your lights shining bright again, including how to address common LED lights stop working issue by fixing the problem at the circuit level.
From understanding the basics to mastering the art of LED light repair, our How to Fix Broken Led Lights guide is here to equip you with the knowledge and skills needed to tackle those pesky problems head-on. So, let’s shed some light on how to bring those LEDs back to life!
Key Takeaways
- Maintain proper voltage for consistent brightness and color.
- Identify and repair faulty sections in addressable LED strips, ensuring connected to the faulty strip are properly managed.
- Check and repair damaged connectors for reliable connections in your LED circuit.
- Clean and monitor LED lights regularly to extend their lifespan and prevent issues where blue lights stop working.
Understanding the Basics of LED Lights and Common Problems

LED lights, known for their energy efficiency, operate on low voltage, typically 12v or 24v, making them a superior choice over traditional lighting options. The power source for LED strips is critical, as improper voltage can lead to dimness or color inconsistencies. It’s essential to ensure secure connections when wiring LED lights, using solder if needed for a reliable electrical connection.
Issues may arise at the end of the strip, where electrical components are most vulnerable. Problems such as dimness or flickering lights often trace back to faulty connections at this point. Checking the wiring and power source at the end of the strip can help diagnose and resolve these issues efficiently, especially if led strip lights can sometimes be the cause.
Diagnosing Issues with Broken LED Strips
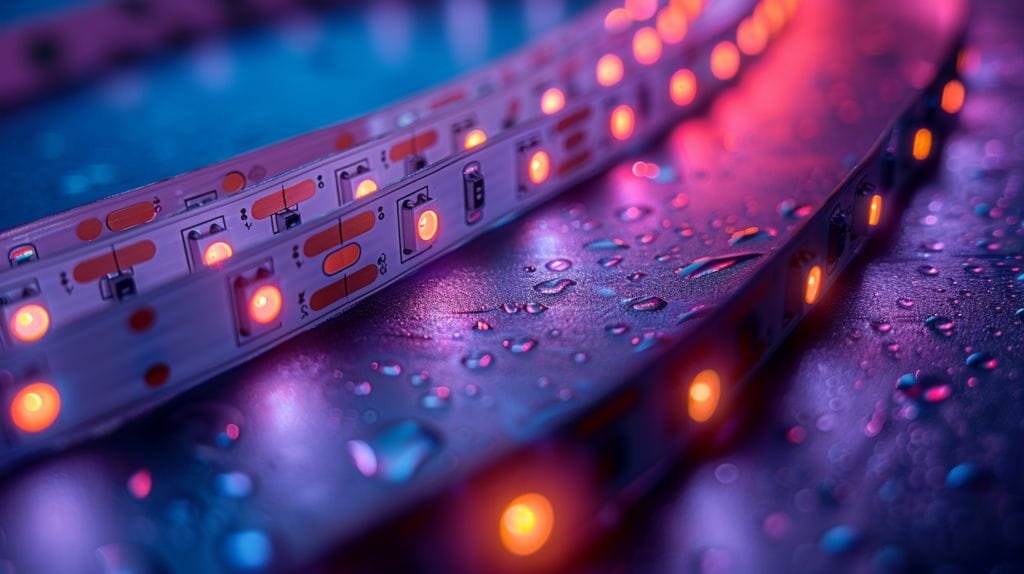
Diagnosing issues with broken LED strips begins with careful inspection of the signs and symptoms to identify potential problems, such as wattage issues or a voltage drop; this is the first step to fix this problem. Here are some common issues and techniques to diagnose problems with LED strip lights:
- Dimness: Check connections and power source if your LED strip lights appear dimmer than usual.
- Inconsistent Colors: Test different color settings and patterns if your LED strips display colors inconsistently or inaccurately, potentially indicating a need for a new strip and a way to fix this problem.
- Flickering Lights: Inspect the connections, replace any faulty components like a led bulb, and ensure compatibility between the dimmer and the LEDs if your lights are flickering; this could fix this problem.
- Partial Illumination: Use a multimeter to test continuity along the strip and replace any malfunctioning segments to restore full illumination if only sections of your LED strips are lighting up.
Navigating the LED Light Repair Process for Addressable LED Strips

Addressable LED strips offer a dynamic lighting solution, but when repair needs arise, a systematic approach is key. Here’s a step-by-step guide to fixing issues with addressable LED strips:
- Identify Faulty Section: Test each segment of the LED strip to locate the problematic area.
- Repair Faulty Section: Replace or repair the faulty LEDs or components causing the issue.
- Address Adhesive Issues: Resolve any adhesive problems by reapplying or using alternative techniques.
- Test Repaired Section: Ensure the repaired section is functioning correctly before reinstallation.
Detailed Guide to Fixing Issues with LED Light Connectors

Without a secure connection, LED light strips may face issues that disrupt their functionality and performance. Here’s how to fix broken connectors on your LED light strips:
- Inspect the Connectors: Examine the connectors for any visible damage such as bent pins, corrosion, or loose wires, ensuring the pin connections if your LED strip are intact.
- Secure the Connection: Ensure that the connectors are properly seated and making solid contact.
- Repair or Replace: Consider repairing them by soldering any loose wires or replacing the damaged connectors entirely, a common led light repair method.
- Test the Lights: Test the LED light strips to ensure they’re functioning correctly and verify if the working strip is operational or needs replacement.
Tips and Tricks for Maintaining High-Quality LED Lights
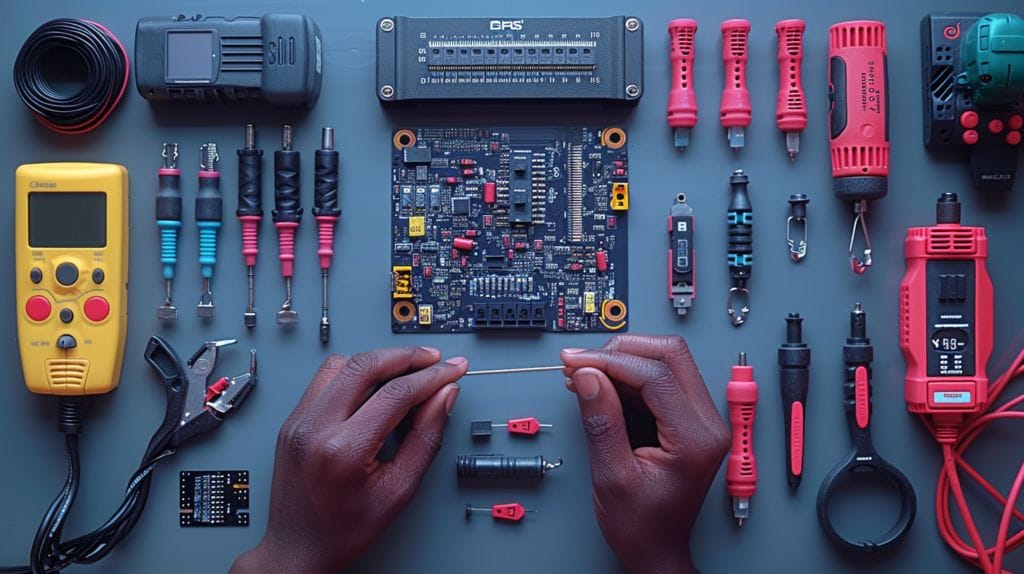
To keep your high-quality LED lights operating at their best, regular maintenance and proper care are essential. Here are some strategies:
- Clean Regularly: Dust and dirt can accumulate on LED lights, affecting brightness.
- Check Power Supply: Monitor the power source to prevent voltage fluctuations, potentially replacing your power source if inconsistencies persist.
- Troubleshoot Early: Address any flickering or dimming issues promptly.
- Proper Soldering: Use a soldering iron for any necessary repairs.
Regular cleaning keeps your LED lights shining brightly, monitoring the power supply helps prevent any electrical issues, early troubleshooting catches problems before they worsen, and using a soldering iron for repairs guarantees secure connections.
Conclusion
In conclusion, fixing broken LED lights is a manageable task with the right knowledge and tools. By understanding the basics, diagnosing issues, and following repair processes, you can easily restore your LED lights to full functionality.
Remember to take proper care of your LED lights to prevent future issues and enjoy long-lasting illumination. With these tips and tricks, you’ll be able to keep your LED lights shining bright for years to come.
Frequently Asked Questions
How can I fix a broken LED light strip?
If your LED light strip is not working properly, you can troubleshoot and fix the issue by checking for loose connections, reconnecting the strip into the connector, or replacing the faulty strip with a new strip.
Why do LED lights sometimes stop working?
LED lights can stop working due to various reasons such as a broken connection, faulty light strips, or issues with the power supply directly to the strip. A working strip is essential for functionality.
What should I do if my LED strip is showing inconsistent colors?
If your LED strip is displaying inconsistent colors, you may need to replace the power adapter or reconnect the strip to see if that fixes the issue.
How do I fix white LED lights that are not working?
If your white LED lights are not working, you can try splitting the strip to check for any broken connections or connecting it to a new power supply.
Can I repair a broken LED light strip?
It is possible to repair a broken LED light strip by troubleshooting the issue, replacing any faulty components, or connecting the strips together using pin connections.

