How to Connect a Ceiling Fan With a Light: DIY Installation
Connecting a ceiling fan with a light is a straightforward project for home improvement that can enhance the functionality and appearance of a room. Follow our How to Connect a Ceiling Fan With a Light guide to wire your ceiling fan and light securely, so you can enjoy the advantages of an efficient and stylish setup.
Keep in mind that adjusting the connection for different switch types offers versatility and convenience in operation. Paying attention to expert tips and troubleshooting advice can help you navigate any challenges that may arise during the installation process.
Key Takeaways
- Identify wire colors for fan and light connections.
- Use wire nuts to secure connections.
- Mount fan and light assembly properly.
- Follow the instructions from the manufacturer for installation.
- Consider separate or single switch wiring options.
- Consult a professional if necessary.
Understanding the Basics of Ceiling Fan and Light Installation

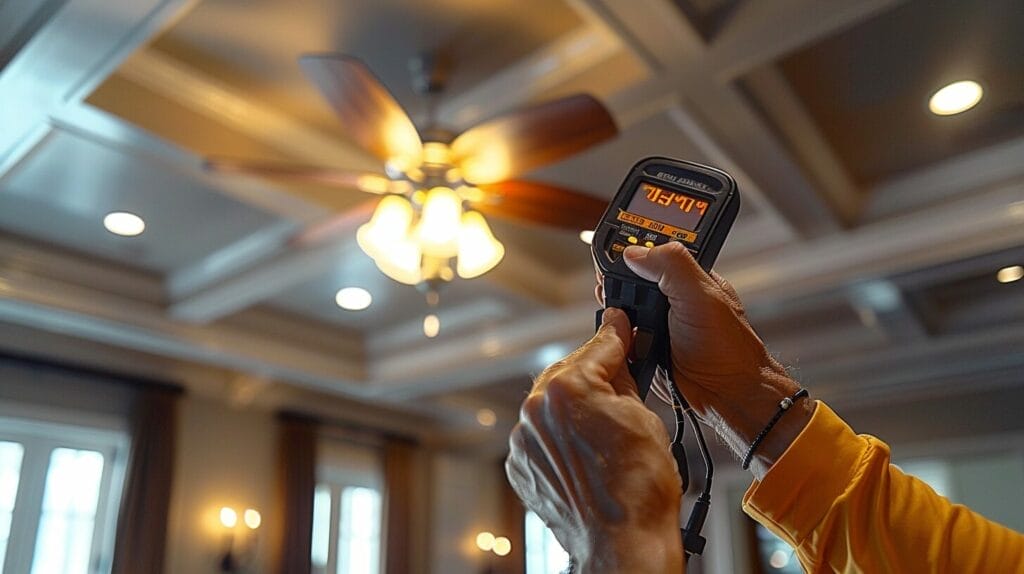
When connecting a ceiling fan with a light, understanding the basics of installation is essential for a successful DIY project. Wiring a ceiling fan involves differentiating between setups with and without lights. Familiarizing yourself with common wire colors like black, white, and green guarantees a safe installation. Using an electrical tester can help identify these wires accurately.
Innovative techniques have simplified ceiling fan installation, making it more accessible for DIY enthusiasts. Distinguishing between the wires designated for the fan and those for the light is crucial for a seamless installation. Modern tools like electrical testers enhance precision and efficiency.
Gathering Necessary Supplies for Installing a Ceiling Fan with a Light

To successfully install a ceiling fan with a light, gather the necessary tools and materials for the project. Making sure you have the right supplies will make the installation process smoother and more efficient.
Here’s what you’ll need:
- Ceiling Fan: Choose a fan that suits the size of the room for best air circulation and lighting.
- Light Kit: Ensure the light kit is compatible with the ceiling fan you’ve selected to guarantee proper installation.
- Electrical Wiring Tools: Have tools like wire cutters, wire strippers, and a voltage tester on hand to work with the electrical wiring safely.
- Safety Measures: Prioritize safety by wearing protective gear like gloves and safety goggles, and always remember to turn off the power before starting any work.
Step-by-Step Instructions to Wire a Ceiling Fan with a Light

Let’s begin by carefully examining the electrical wiring setup for the ceiling fan and light to make sure a proper connection. When wiring a ceiling fan with a light, it’s important to pay attention to the wire colors to guarantee the correct connections. Typically, the wires will be color-coded for easier identification – black or red wires for the fan, blue for the light, white for the neutral wire, and green or bare copper for the ground wire. Following the manufacturer’s instructions is key to a successful installation.
- Start by matching the corresponding wires from the ceiling to those of the ceiling fan and light.
- Secure the connections with wire nuts, making sure they’re tight and well-insulated, possibly introducing a new wire for enhanced safety and performance.
- Once the wiring is complete, carefully tuck the wires into the electrical box and mount the ceiling fan and light assembly securely to the ceiling.
Taking these steps won’t only guarantee a safe and functional setup but also give you the satisfaction of a successful DIY installation.
Adapting the Connection for Different Switch Types

The wiring setup can be modified to accommodate various types of switches for operating the ceiling fan and light. Consider the following when adapting the connection:
- Wiring Ceiling Fan and Light on Two Separate Switches: This setup allows independent control of the fan and light, employing separate circuits for functionality.
- Wiring Ceiling Fan and Light on a Single Switch: Simplify the operation by connecting the fan and light to a single switch, ensuring to rewire the fan if needed for streamlined use.
- Understanding the Use of Pull Chain for Light Switching: Pull chains offer manual control of the light without altering the switch setup.
- Exploring Smart Switch Options for Remote Control: Smart switches enable remote operation of the ceiling fan and light.
Can the same wiring and installation technique be used for connecting a ceiling fan with a light as for hooking up a light switch?
Yes, the same wiring and installation technique outlined in a light switch installation guide can be used for connecting a ceiling fan with a light. It is important to follow the specific instructions for wiring and mounting to ensure safety and proper functioning of the ceiling fan and light.
Pro Tips and Troubleshooting for DIY Ceiling Fan and Light Installation

Navigating through potential challenges, we aim to provide expert insights and practical advice for setting up a ceiling fan with a light fixture in a DIY setting. When starting on a DIY ceiling fan and light installation project, it’s essential to be equipped with pro tips to guarantee a smooth process. Here are some key tips and troubleshooting strategies to enhance your installation experience:
| Pro Tips | Troubleshooting |
|---|---|
| Use a voltage tester to guarantee safety before starting the installation process. | If the fan or light malfunctions, check the wiring connections to make sure they are secure. |
| Balance the fan blades using a blade balancing kit for top performance and reduced noise. | In case of wobbling or noise issues, check if the blades are securely attached and balanced. |
| Utilize a ceiling fan remote control for convenience and ease of operation. | If the fan or light flickers, it might indicate a loose connection that needs to be addressed. |
Conclusion
To sum up, linking a ceiling fan with a light may seem challenging, but with the right supplies and step-by-step instructions, it can be a manageable DIY project.
Remember to adjust the connection for different switch types and follow expert tips for a successful installation.
Resolving any issues that may arise will guarantee your ceiling fan and light operate properly.
With a little patience and attention to detail, you can enjoy a cooler, well-lit room in no time.
Frequently Asked Questions
How do I connect a ceiling fan with a light if I only have a single switch?
You can connect both the fan and the light to the single switch using the same power source, leveraging the wire from the switch for efficient control. This setup allows you to control the light and either the fan or both using one switch.
What do the wire colors signify when connecting a ceiling fan with a light?
The black wire is for the fan motor, the white wire is the neutral wire, and the blue wire is for the light.
Can I install a ceiling fan with lights if I have separate switches for the fan and the light?
Yes, you can wire the fan and the light separately if you have two switches for independent control, which is a common method of wiring.
How do I wire a ceiling fan with a light and a pull chain?
You can connect the fan and light to the designated wires in the ceiling box and wire from the wall switch.
Is it necessary to consult an electrician before rewiring a ceiling fan with a light?
It’s recommended to consult an electrician, especially if you are unsure about the wiring process to ensure safety and compliance with electrical codes.


