Wire an Outdoor Light: A Step-by-Step DIY Guide
Wiring an outdoor light fixture can significantly enhance the security and aesthetics of your outdoor space. This how to Wire an Outdoor Light guide provides step-by-step instructions to help you navigate the process efficiently.
Key Takeaways
- Select a suitable location for aesthetics and functionality.
- Follow manufacturer’s instructions for fixture assembly.
- Connect wires matching colors and use wire connectors.
- Run wire through conduit for protection.
- Test functionality before final installation.
Understanding the Basics of Installing an Outdoor Light Fixture
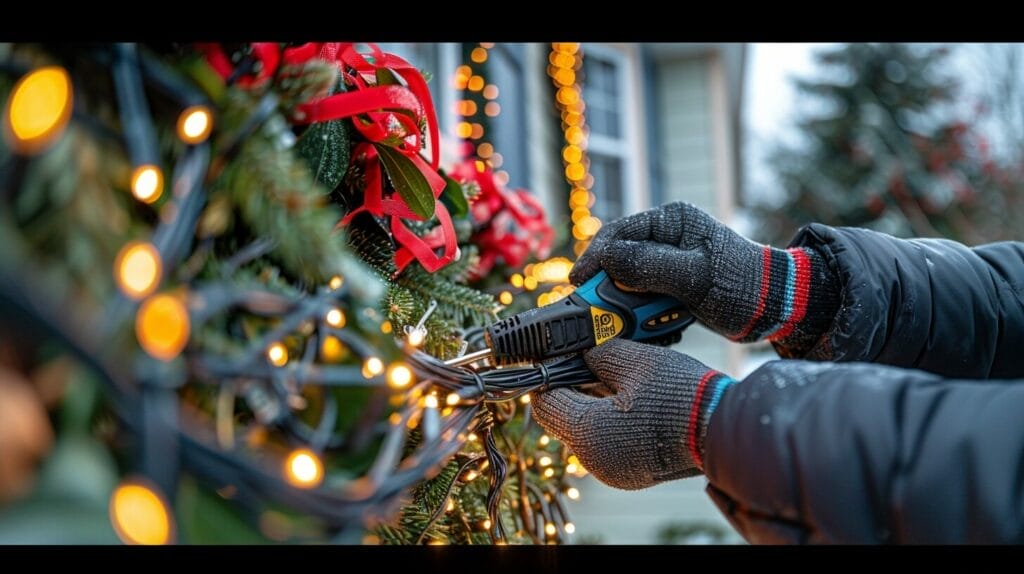
Installing an outdoor light fixture requires a grasp of essential components and their proper placement for optimal functionality and safety. High-quality, weather-resistant electrical wire is crucial for longevity and safety. Always turn off the power supply before starting any electrical work to prevent accidents. Selecting a waterproof and compatible outdoor outlet is key for the fixture’s performance. Adding a motion sensor can enhance security by automatically activating the light upon detecting movement.
Planning and Marking the Route: Pre-Installation Tips for Wiring an Outdoor Light

A successful installation starts with careful planning. Mark the route for the conduit from the power source to the fixture, taking into account the landscape and potential obstacles. Key pre-installation tips include:
- Choose the Right Location: Enhance both aesthetics and functionality.
- DIY vs. Expert: Decide whether to undertake the project yourself or hire a professional.
- Check Conduit Path: Ensure the path is clear of obstructions.
- Verify Power Source: Confirm the location for efficient wiring.
Assembling and Installing the Outdoor Light Fixture
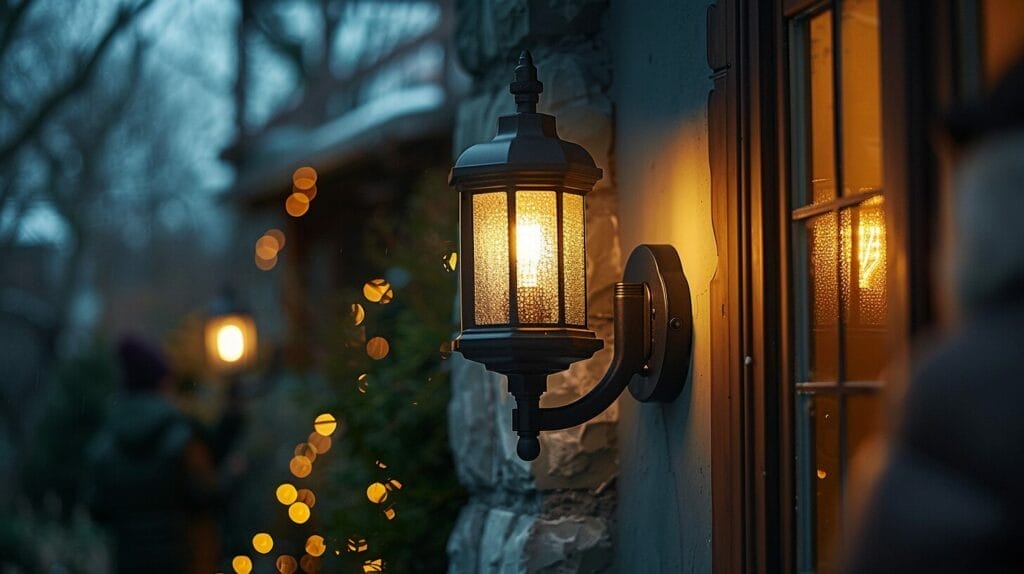
Begin by removing any old fixtures and inspecting the mounting bracket for damage, replacing if necessary. Connect the new fixture’s wires to the existing ones by color, using wire connectors for secure connections. Mount the fixture onto the bracket and test its functionality before fully securing it.
Wiring the Outdoor Light: Connecting to the Power Source and Outlet

How do we guarantee a safe connection to the power source and outlet for the outdoor light fixture?
When wiring outdoor lights, ensuring a secure connection is vital. Begin by running the wire through a conduit for protection against outdoor elements. Make sure to connect the wires properly at the outlet and switch to complete the circuit effectively. For enhanced safety, consider installing a GFCI outlet, which can help prevent electrical shocks in wet conditions.
Outdoor lighting projects require extra caution and attention to detail due to exposure to the elements. By carefully handling the electrical connections and utilizing the appropriate safety measures, such as using a GFCI outlet and securing the wires in a conduit, we can guarantee a reliable and safe outdoor lighting setup.
Prioritizing proper installation techniques and following electrical codes will help maintain a durable and efficient outdoor lighting system for your space.
Final Steps in Wiring an Outdoor Light: Checking and Testing
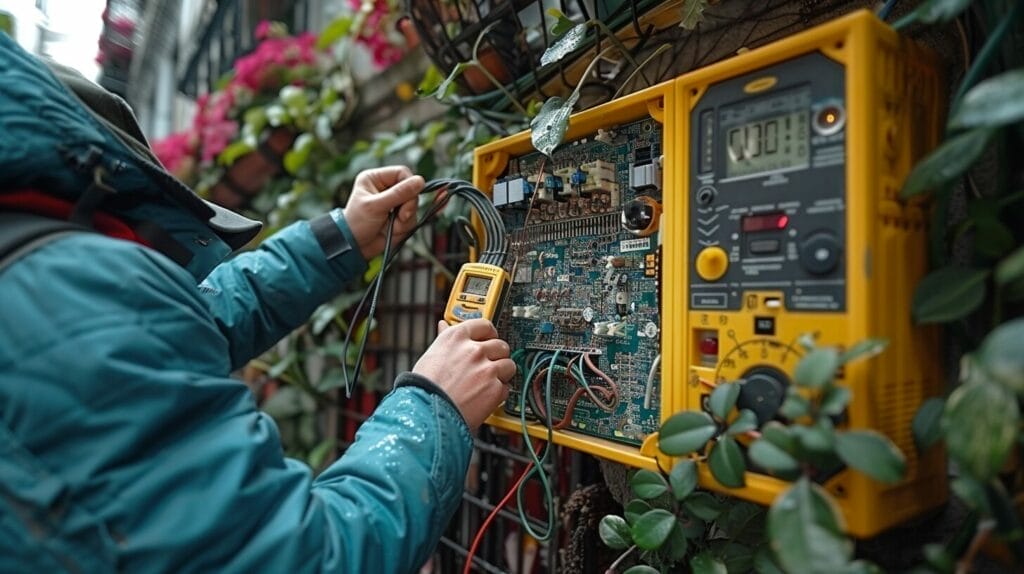
To guarantee a successful outdoor lighting project, the final steps involve examining all connections for security, correctly mounting the light fixture, and conducting thorough testing to confirm its functionality.
- Secure Connections: Confirm all wires are properly connected and insulated to prevent any safety hazards or malfunctions.
- Proper Mounting: Mount the light fixture securely to the chosen surface, ensuring it’s stable and positioned correctly for best lighting effects.
- Test the Light Fixture: After wiring and mounting, test the light fixture to ensure it turns on and functions as expected before completing the project.
- Dig a Hole (if needed): In some cases, you may need to excavate a hole in your yard to bury wiring for a more aesthetically pleasing and professional installation.
Conclusion
Overall, wiring an outdoor light may seem intimidating at first, but with the proper planning and step-by-step approach, it can be a manageable DIY project.
By understanding the basics, carefully planning the route, assembling and installing the fixture, and properly connecting to the power source, you can illuminate your outdoor space safely and effectively.
Remember to always double-check your connections and test the light before enjoying your newly lit outdoor area.
Happy DIYing!
Frequently Asked Questions
What tools do I need to wire an outdoor light?
You will need tools such as a shovel, screwdriver, utility knife, cable route, spray paint, and a hand saw.
How do I choose the right location for my outdoor light?
Look for a spot with easy access to electricity and where the light will illuminate the desired area in your yard.
Do I need any special permits before installing outdoor lighting?
It is a good idea to check with your local authorities to see if any permits are required before starting the installation.
Should I hire an electrician to help with the wiring?
If you are not experienced with electrical work, it is recommended to hire a licensed electrician to assist with the installation.
What safety precautions should I take while working with electricity outdoors?
Make sure to turn off the power at the breaker, use a GFCI outlet, and wear appropriate safety gear like gloves and safety goggles.

