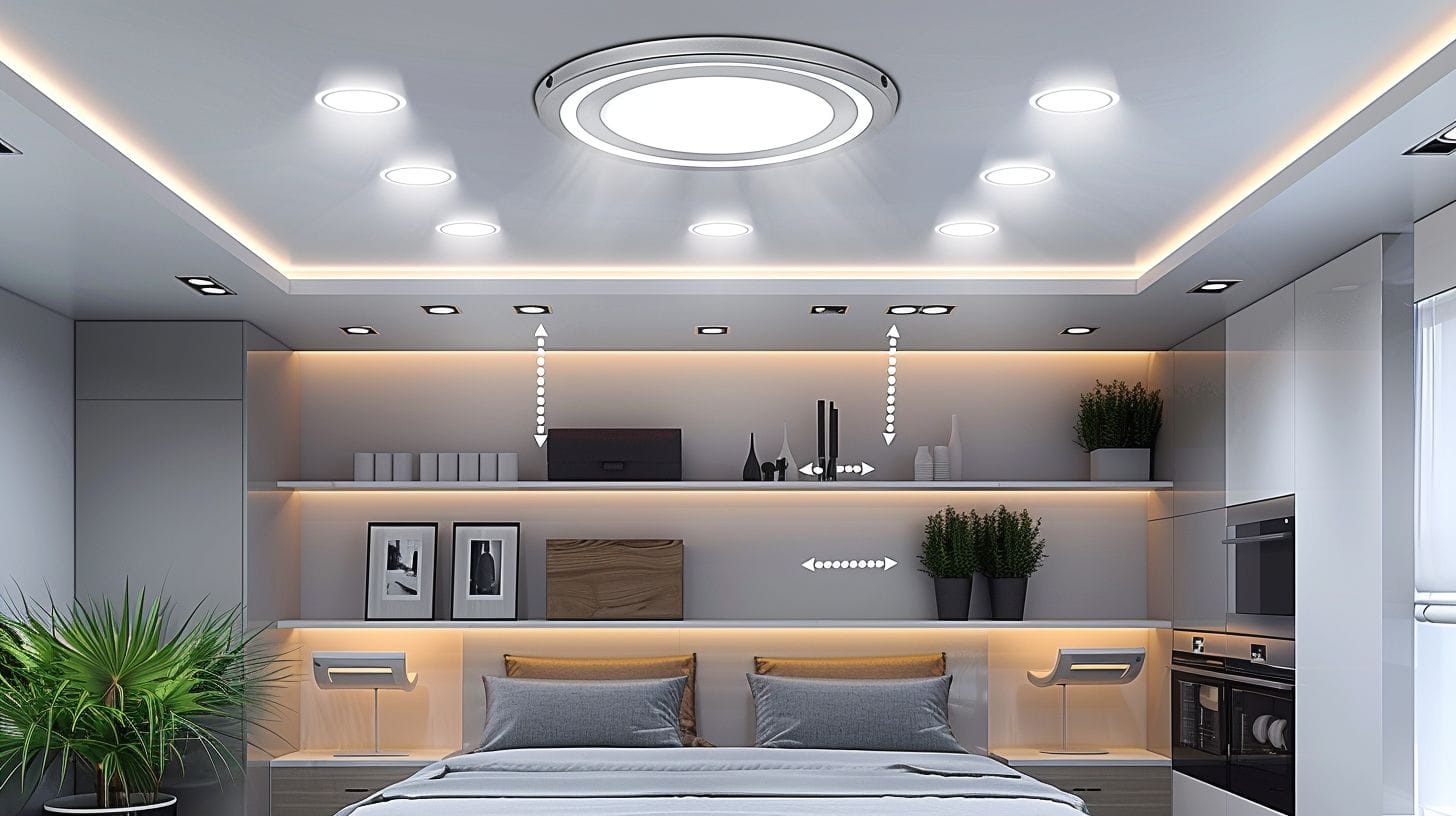
Led Recessed Lighting Wiring Diagram: A Step-by-Step Guide
When my colleague, Tom, decided to upgrade his home lighting to energy-efficient LED recessed lights, he faced the daunting task of wiring them correctly. As we began mapping out a step-by-step guide for him, including the selection of a 20 amp switch box, we realized the importance of clarity and precision in the wiring process for mood lighting in your den.
Each connection and junction played a crucial role in ensuring the system’s seamless operation. Understanding these intricacies can make a significant difference in the efficiency and longevity of your LED recessed lighting setup. That’s why we created this Led Recessed Lighting Wiring Diagram guide, so you don’t have to.
Key Takeaways
- Efficient layout planning and proper wiring connections are crucial for successful LED recessed lighting installation.
- Understanding junction boxes and following manufacturer guidelines ensure safety and performance.
- Regular maintenance and updates, including checking the wattage compatibility and the number of fixtures, enhance LED recessed lighting system longevity and efficiency.
- Troubleshooting common issues like flickering lights or power supply problems requires proper wiring and installation practices.
Understanding the Basics of Recessed Lighting and Wiring
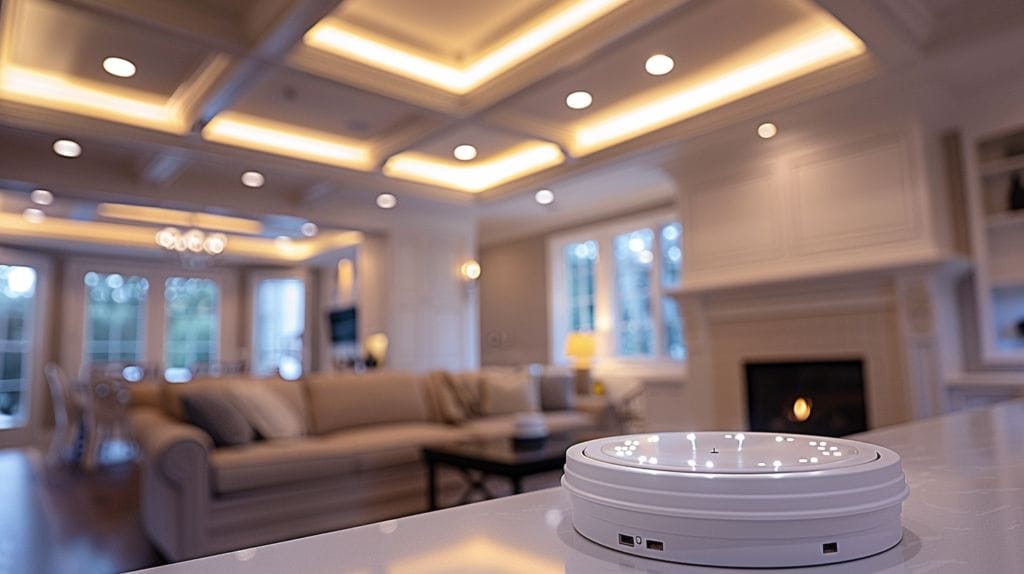
Let’s dive into the fundamental concepts of recessed lighting and wiring to grasp the essentials for installation. LED lights have become a popular choice for recessed lighting fixtures due to their energy efficiency and longevity. Understanding how to make proper wiring connections is crucial for a successful installation.
The power source for your recessed lighting will typically come from your home’s electrical system, and it’s important to ensure that the wiring can handle the load of the LED lights. A junction box is often used as a connection point for the wiring in recessed lighting setups. This box not only provides a safe and secure enclosure for the electrical connections but also allows for easier maintenance and troubleshooting in the future.
When installing LED lights, it’s essential to follow the manufacturer’s guidelines for wiring to ensure optimal performance and safety, especially considering the switch box specifications and whether your circuit is rated for 15 amps or 20 amps.
Gathering Necessary Tools and Preparing for the Installation

Gathering the necessary tools and preparing for the installation of LED recessed lights requires careful planning and attention to detail. To begin, ensure you have the essential wiring tools handy, such as wire cutters, wire strippers, voltage tester, and a screwdriver. These tools will aid in a smooth installation process and help you work efficiently.
Before diving into the installation, it’s crucial to consider safety measures, such as turning off power at the main fuse box and verifying your light switch and wiring can support the intended wattage and amps. Turn off the power supply to the area where you’ll be working to prevent any accidents. Additionally, use insulated tools and wear protective gear like gloves and safety glasses to shield yourself from potential electrical hazards.
Next, prepare the recessed light and wiring area by clearing out any obstructions and ensuring there’s enough space to work comfortably. Organize your tools and materials, including your recessed light kits, in a way that allows easy access during the installation. Familiarize yourself with the layout of the LED recessed lights and plan the wiring route to avoid any obstacles.
Step-by-Step Guide to Wire Recessed Lighting
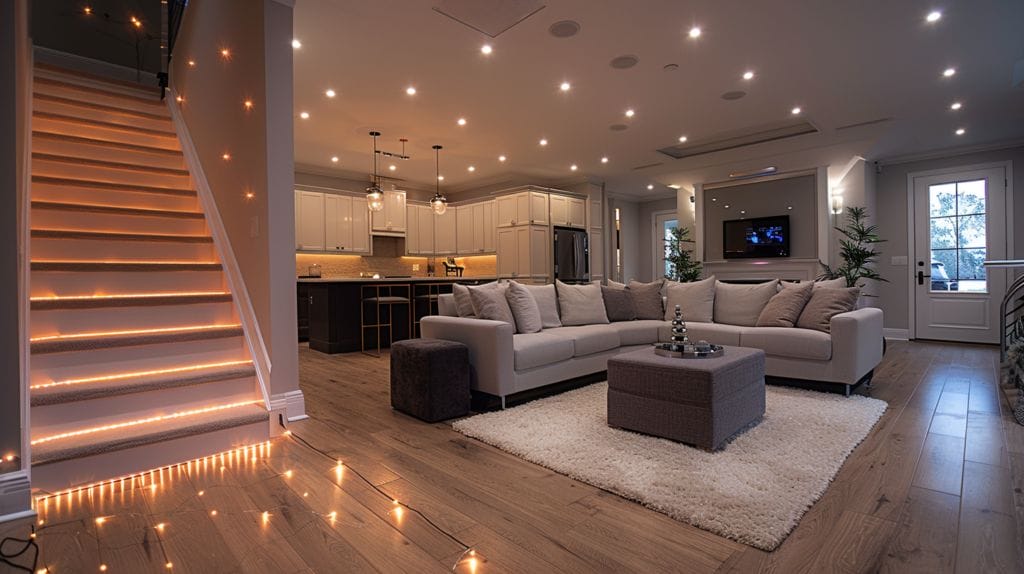
To properly wire recessed lighting, begin by carefully planning the layout for your LED fixtures. This planning stage is crucial to ensure that the wiring will be efficient and effective. Once you have a clear plan in mind, follow these steps to wire your recessed lighting:
- Prepare the Junction Box: Locate the junction box in the ceiling where you want to install the recessed fixture, ensuring it’s compatible with your intended light switch and has adequate capacity for the number of fixtures. Ensure that the power circuit is turned off before proceeding with any wiring work to guarantee safety.
- Connect the Wires: Strip the insulation from the wires in the ceiling and the recessed fixture. Use wire nuts to securely connect the corresponding wires together, ensuring the circuit can handle the wattage and number of fixtures being installed. Make sure to match the colors correctly (typically black to black, white to white, and green or bare copper to the ground wire).
- Install the Recessed Light: After the wires are securely connected, carefully tuck them into the junction box to ensure a clean setup for installing recessed lights. Attach the recessed fixture into the ceiling according to the manufacturer’s instructions. Test the light to ensure it functions properly before completing the installation.
Troubleshooting Common Issues in Recessed Lighting Wiring

When troubleshooting common issues in recessed lighting wiring, a systematic approach is key to identifying and resolving problems efficiently. One of the most common problems with LED recessed lighting fixtures is flickering or dimming.
This can often be traced back to issues with the wiring, such as loose connections or incompatible dimmer switches, which can affect your house to mood lighting. Here is a table outlining some common issues and possible solutions:
| Issue | Solution |
|---|---|
| Flickering or dimming lights | Check for loose connections or replace dimmer switch |
| Lights not turning on | Verify power supply, check for tripped circuit breaker |
| Uneven lighting or hot spots | Ensure proper spacing of fixtures, consider adjusting angle |
Can the Wiring Diagram LED Lights Guide be Used for Installing Recessed Lighting?
Yes, the wiring diagram LED lights guide can definitely be applied when installing recessed lighting. By mastering LED light installation, you will have the knowledge and skills needed to follow the wiring diagram and correctly install recessed lighting fixtures in your home.
Maintaining and Updating Your LED Recessed Lighting System

As we ensure the longevity and efficiency of our LED recessed lighting system, it’s crucial to prioritize routine checks and maintenance. Keeping our system up to date not only enhances performance but also ensures safety and energy efficiency.
Here are some key practices to consider:
- Regular Inspections: Periodically check the wiring of recessed lights to detect any signs of wear or damage. This proactive approach can prevent potential issues and extend the lifespan of your LED lights.
- Software Updates: Just like our smartphones, LED lighting systems benefit from software updates. Stay informed about the latest advancements in lighting technology and update your system accordingly to enjoy improved features and functionality.
- Proper Disposal: When it comes time to upgrade your LED recessed lights, it’s important to dispose of the old ones responsibly. Look for recycling programs in your area or contact local waste management services to ensure environmentally friendly disposal of old lighting fixtures and switch boxes.
Conclusion
Overall, wiring your LED recessed lighting can seem overwhelming at first, but with the right tools and a step-by-step guide, it can be a manageable project.
By understanding the basics, following the proper steps, and troubleshooting any issues that may arise, you can enjoy a well-lit and stylish space.
Remember to regularly maintain and update your system to ensure it continues to function efficiently and effectively.
Happy lighting!
Frequently Asked Questions
What are the steps to wire recessed lighting?
The steps to wire recessed lighting include creating a wiring diagram, connecting the white wire to the neutral wire, connecting the black wire to the switch, and ensuring the wiring is properly grounded.
How can I create a wiring diagram for led recessed lighting?
To create a wiring diagram for led recessed lighting, you need to map out the placement of fixtures, determine the locations of switches and power sources, and label the wires accordingly.
What is the importance of a properly sized breaker and wiring for led recessed lighting?
A properly sized breaker and wiring are crucial for safety and optimal performance of led recessed lighting. It ensures that the circuit can handle the wattage and prevents overheating or electrical issues.
Can I use 14-gauge wire to power my led recessed lighting circuit?
It is recommended to use 12-gauge wire for most led recessed lighting circuits to ensure efficient power supply and prevent voltage drops. However, consult local electrical codes for specific requirements.
How do I connect the switch cable to the led recessed lighting fixture?
To connect the switch cable to the led recessed lighting fixture, match the corresponding wires (white to white, black to black), secure the connections with wire nuts, and follow the specific instructions provided with the fixture.
What is the best way to wire a single fixture at one end of the circuit?
When wiring a single fixture at one end of the circuit, ensure the black wire is connected to the switch, the white wire is connected to the neutral wire, and the grounding wire is properly secured for safety.

