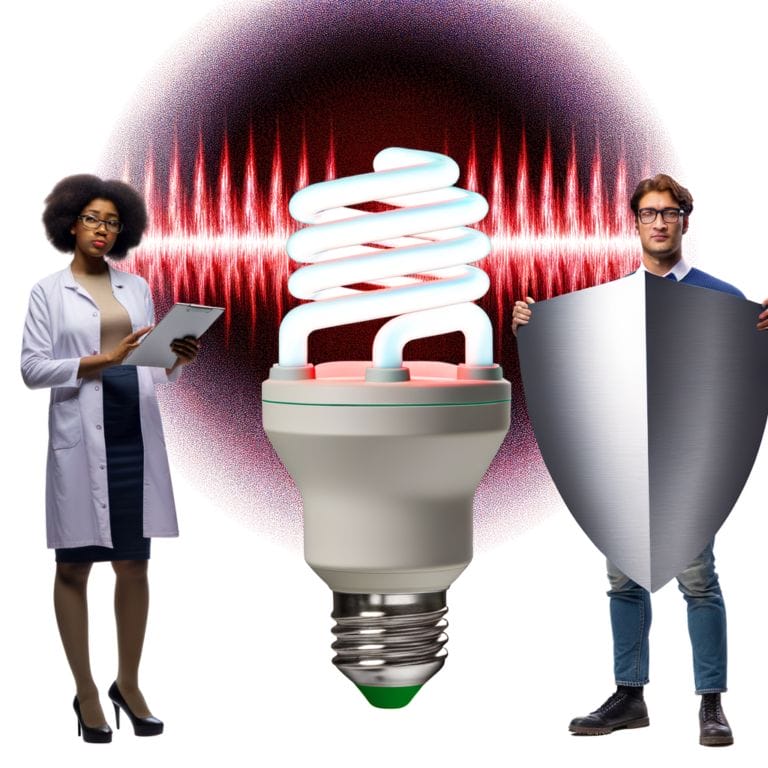
How to Test a Light Fixture Before Installing: Easy Guide
Discovering whether a light fixture works before installing it can save time and frustration. In this simple guide, we’ll walk you through the steps to test your light fixture effortlessly. By following these easy instructions, you’ll ensure a smooth installation process and avoid any surprises. Let’s shed some light on the testing process with our How to Test a Light Fixture Before Installing tutorial!
Key Takeaways
- Gather tools like a voltage tester and a ladder for testing.
- Turn off power at the circuit breaker to avoid accidents.
- Use a voltage tester to check for power after removing the bulb.
- Look for visible damage such as frayed wires or rust.
- Watch out for flickering lights, dimming, or unusual noises.
Understanding the Basics of a Light Fixture and its Safety Importance

A light fixture comprises various components, such as the bulb, socket, wiring, and housing. It not only illuminates a space but also enhances its ambiance. However, to guarantee safety, regular testing of electrical connections is crucial. Faulty wiring or damaged components can pose fire or electrical shock risks, necessitating routine checks.
Testing involves examining for loose connections, wear and tear, and proper fixture security. Address any detected abnormalities promptly. Sometimes, a simple fix like tightening a loose screw is all that’s needed. However, if the issue is more severe, replacement of the faulty component or the entire fixture may be necessary. By staying proactive in testing your light fixtures, you can maintain a safe and efficient lighting system in your home.
The Importance of Checking Your Light Fixture Before Installation

Testing a light fixture before installing it can uncover potential issues that could impact its functionality and safety. This process not only ensures proper functioning but also helps detect underlying problems that could cause future faults. By thoroughly examining the fixture, you can proactively address potential issues, contributing to a safer home environment.
Installing a light fixture without prior testing can pose risks, such as electrical malfunctions or safety hazards. Therefore, testing before installation is a pivotal step towards maintaining a secure and efficient lighting system. It enables you to identify any faults, wiring issues, or defects that may compromise the fixture’s performance, ensuring safe and reliable operation once installed.
Home improvement innovation starts with attention to detail, and testing your light fixture before installation is a critical part of this process. By diligently checking for potential issues, you not only guarantee your lighting’s functionality but also prioritize your household’s safety.
A Step-by-Step Guide to Testing Your Light Fixture Before Installing

To ensure your light fixture’s safety and functionality, it’s essential to conduct a systematic test before installation. Here’s how:
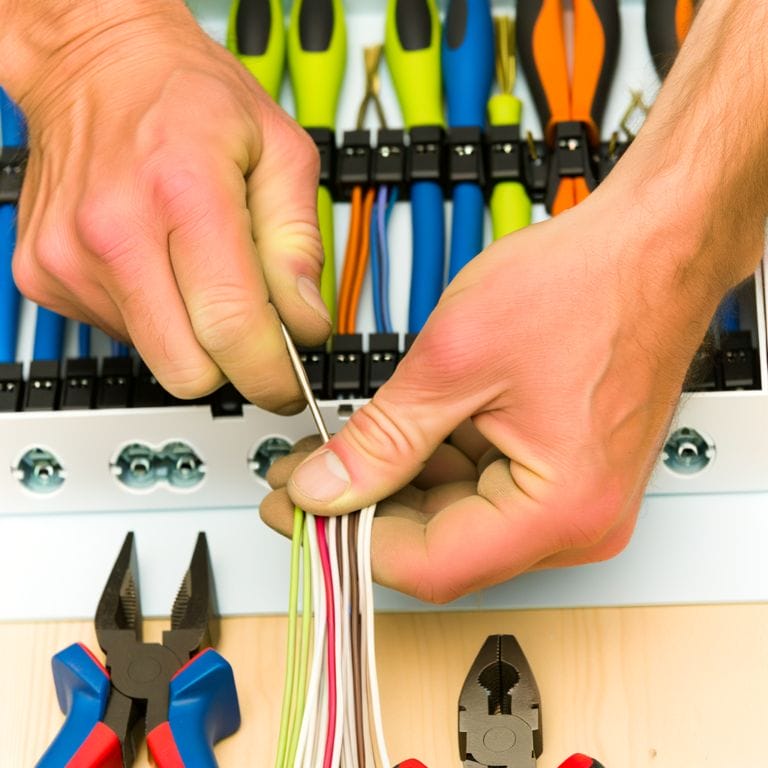
- Gather necessary tools and materials like a voltage tester and a ladder
- Turn off the power at the circuit breaker
- Remove the light bulb and use a voltage tester to ensure there’s no power running to the fixture
- Inspect for visible signs of damage, such as frayed wires or rust
- Look for flickering lights, dimming, or unusual noises, which could indicate potential problems
Tips for Replacing a Faulty Light Fixture Safely and Effectively

Replacing a faulty light fixture starts with inspecting the wiring and fixture for damage. Ensure the power is off at the breaker before starting the replacement process. After turning off the power, test the fixture for peace of mind and safety assurance. Here’s how to remove the old fixture:
- Disconnect the wires
- Unscrew the fixture from the ceiling
- Carefully lower it down
Once the old fixture is removed, test the new one before installation to ensure it works correctly. When replacing the fixture, match the wires correctly using wire nuts and ensure connections are secure. Follow the manufacturer’s instructions for proper fit and alignment. By adhering to these steps, you can replace a faulty fixture effectively and safely.
Troubleshooting Common Issues with Light Fixtures

When facing typical light fixture issues, effective troubleshooting can guarantee peak performance. Here are some common problems and troubleshooting tips:
| Issue | Possible Cause | Troubleshooting Tips |
|---|---|---|
| Flickering Light | Loose Bulb Connection | Confirm the bulb is securely screwed in |
| Dim Light | Wattage Mismatch | Use the appropriate wattage for the fixture |
| No Light | Faulty Wiring | Inspect wiring connections for any damage |
| Buzzing Sound | Loose Fixture Parts | Secure all parts to eliminate vibrations |
Regular maintenance can prevent these issues. However, if problems persist after troubleshooting, it’s advisable to seek professional help to ensure safety and proper functioning.
Conclusion
In summary, testing your light fixture before installation is essential for ensuring safety and proper functionality.
By following the steps outlined in this guide, you can easily identify any issues and address them before mounting the fixture.
Remember to always prioritize safety and consult a professional if you encounter any difficulties.
With a little precaution and preparation, you can enjoy a well-lit and safe environment in your home.
Frequently Asked Questions
How can I test a light fixture before installing it?
Before installing a light fixture, you can test it by using a non-contact voltage tester to ensure there is no current flowing through the wires. Make sure to follow all safety precautions while testing.
What tools do I need to test a light fixture?
To test a light fixture, you may need tools such as a voltmeter, continuity tester, and a non-contact voltage tester. These tools will help you determine if the fixture is safe to install.
Why is it important to test a light fixture before installing it?
Testing a light fixture before installation is crucial to ensure your safety from any electrical hazards. It also helps in identifying any faulty wiring or defective fixtures that need to be replaced.
How do I use a voltmeter to test a light fixture?
To test a light fixture with a voltmeter, set the meter to measure AC voltage. Then, touch the probes to the bare wires inside the junction box. If you get a reading, there is live electricity present.
Can I test a light fixture without touching the wires?
Yes, you can use a non-contact voltage tester to detect the presence of electricity without touching the wires. This tool is safe and easy to use for testing purposes.