How to Remove Ceiling Light Cover Without Screws: DIY Guide
Struggling to remove a ceiling light cover without screws? Our DIY guide has you covered. Discover simple techniques to safely detach the cover without causing damage. From twisting and sliding to using suction or pry tools, we offer step-by-step instructions for various scenarios in our How to Remove Ceiling Light Cover Without Screws guide.
Key Takeaways
- Identify the clip holding the cover for removal.
- Twist and carefully detach the cover from the fixture.
- Apply gentle pressure if necessary while removing.
- Ensure the clip is fully disengaged before proceeding.
- Exercise patience to prevent damage during removal.
Understanding Ceiling Light Covers Without Screws
Ceiling light covers without screws present a unique design and installation method. They often feature a clever mechanism that allows for easy removal and installation, unlike traditional covers that require screws. These screwless covers usually utilize a flush-mounted design that enhances the overall aesthetic of the light fixture.
The mechanism of these covers varies based on the manufacturer and model. Some may have a twist-and-lock system, while others may have a magnetic attachment for seamless removal. Knowing the specific mechanism of your ceiling light cover is crucial for a safe and efficient removal process.
Screwless ceiling light covers also offer a sleek, modern look that can complement any decor style. The absence of visible screws creates a clean, seamless appearance, making these covers a popular choice for minimalist design enthusiasts.
Identifying Tools Needed to Remove a Ceiling Light Cover Without Screws

Several tools are necessary for safe removal of a ceiling light cover without screws. Protective gloves are crucial to avoid sharp edges on the fixture or cover. A step stool or ladder is also useful to safely reach the fixture.
A flathead screwdriver can help pry the cover gently off the fixture, especially if held in place by clips or tabs. If the cover is made of glass or a delicate material, use a soft cloth to grip the edges while applying pressure, to prevent accidental damage.
Steps to Safely Remove the Ceiling Light Cover Without Screws
What’s the best way to safely remove a ceiling light cover without screws?
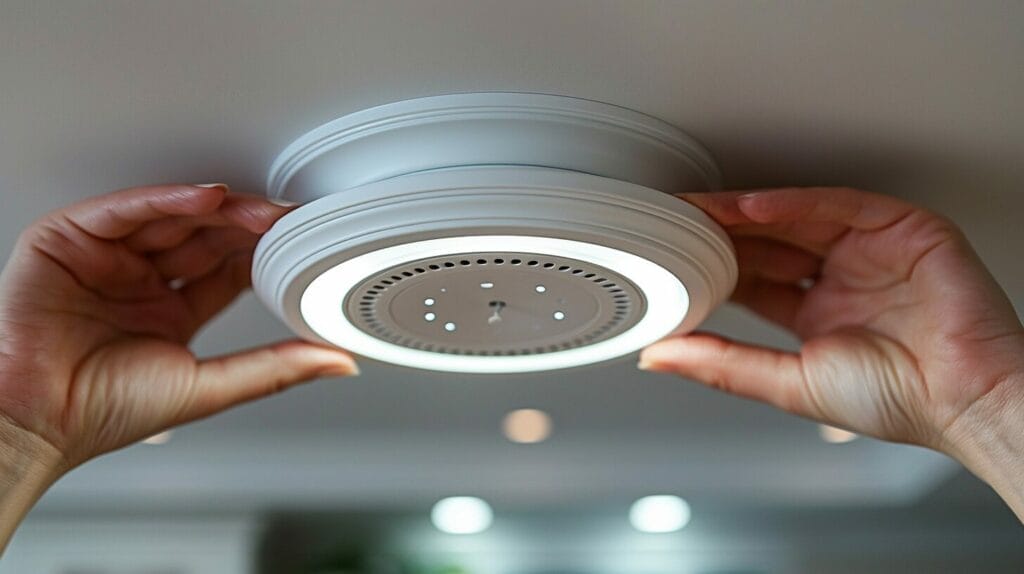
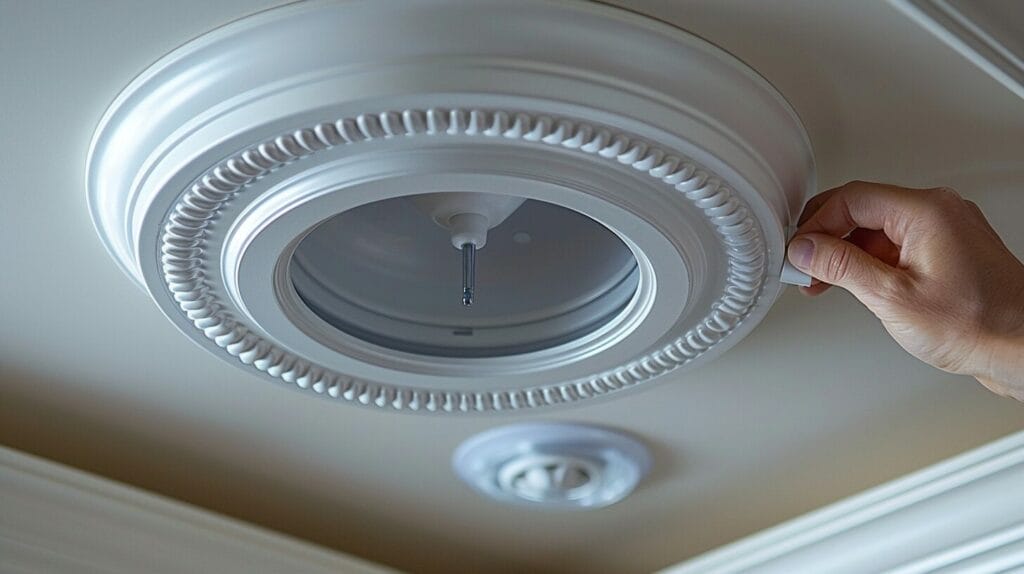
- To start, identify the clip holding the ceiling light cover in place. This clip is usually located on one side of the cover and needs to be disengaged carefully.
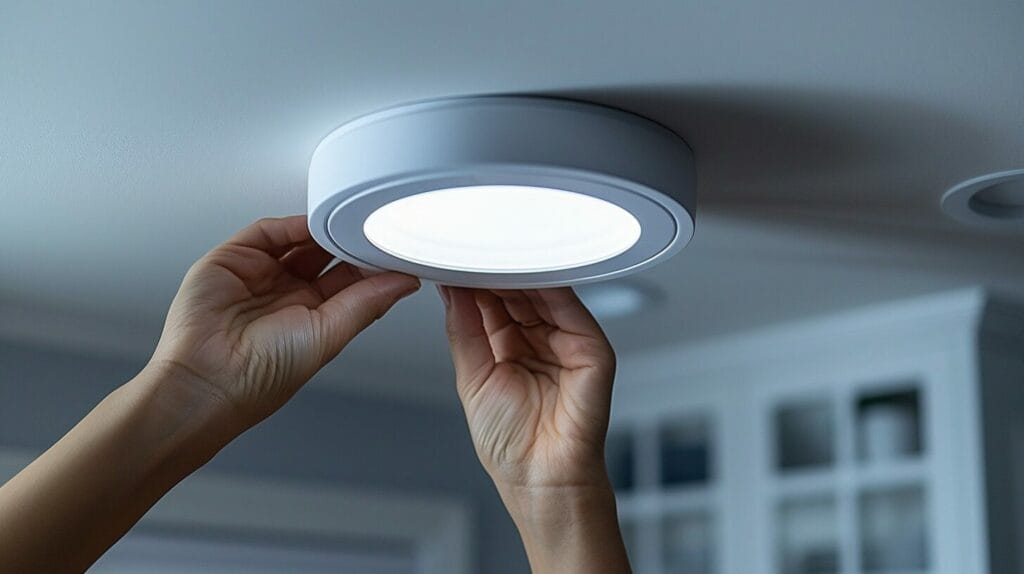
- Once you’ve located the clip, employ the correct technique to twist and remove the cover. Gently twist the cover counterclockwise until it releases from the fixture.
- If you encounter any difficulties or complications during this process, take a moment to confirm the clip and make sure it’s fully disengaged. Sometimes, applying gentle pressure while twisting can help release the cover more easily.
Remember, patience is key when dealing with these types of fixtures to prevent any damage to the ceiling light cover or the surrounding area.
Maintenance and Cleaning of a Ceiling Light Cover Without Screws
Regular cleaning helps maintain the quality of light emitted by the fixture. Gently wipe the cover with a soft cloth or sponge dampened with a mild soapy solution. For tougher stains, a water and vinegar mixture can be effective. Ensure the cover is thoroughly dry before reattaching it to the light fixture. When securing the cover back in place, ensure it aligns correctly to prevent dust ingress.
How to Replace a Screwless Ceiling Light Cover
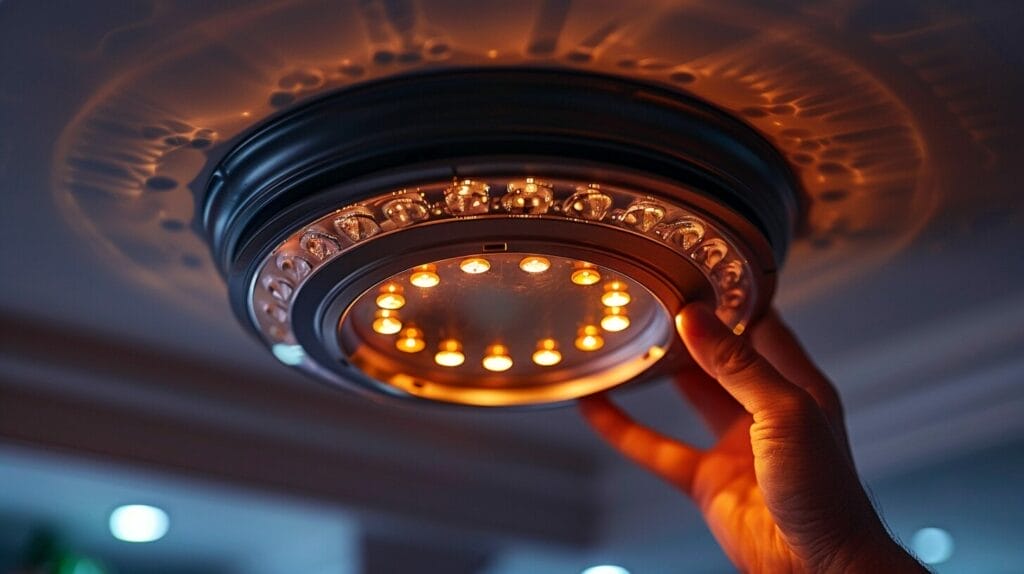
Proper replacement of a screwless ceiling light cover starts with ensuring the power to the fixture is switched off. After removing the existing ceiling light cover, inspect the fixture for dust or debris and clean if necessary. When selecting a new ceiling light cover, consider the size that fits your fixture and a design that complements your decor.
Align the new cover with the fixture and slide it into position, ensuring it sits securely. Apply slight pressure to the edges to ensure a snug fit. Finally, turn the power back on to enjoy your newly replaced screwless ceiling light cover.
Conclusion
Overall, removing a ceiling light cover without screws is a straightforward task that can be accomplished with just a few tools and some cautious steps. By following the guide provided, you can safely remove, clean, and maintain your screwless ceiling light cover.
Remember to always turn off the power before working on any electrical fixtures, and be sure to replace the cover securely after cleaning to guarantee proper function and safety.
Frequently Asked Questions
How do I remove a ceiling light cover without screws?
To remove a ceiling light cover without screws, you can try twisting the cover counterclockwise to unlock it. If that doesn’t work, look for any clips or tabs that may be securing the cover in place.
What is the recommended way to remove the light cover from a ceiling fixture?
The recommended method to remove a light cover from a ceiling fixture is to twist and remove it carefully, ensuring that you don’t damage the fixture or the cover in the process.
How can I safely remove a ceiling light cover without screws?
Safety is key when removing a ceiling light cover without screws. Make sure to wear safety glasses to protect your eyes and use a stable ladder to reach the fixture securely.
Should I involve an electrician to remove a ceiling light cover without screws?
If you are unsure about the process of removing the ceiling light cover without screws or are dealing with complex wiring, it is recommended to involve an electrician to ensure the task is done safely.
What should I do to protect my hands while removing a ceiling light cover?
To protect your hands, you can wear safety gloves or use a towel to handle the cover. This will also help in minimizing the risk of injury from sharp edges or debris.